Nurgle Blight King Yellow Armour Colours Note
Colours


Step 1
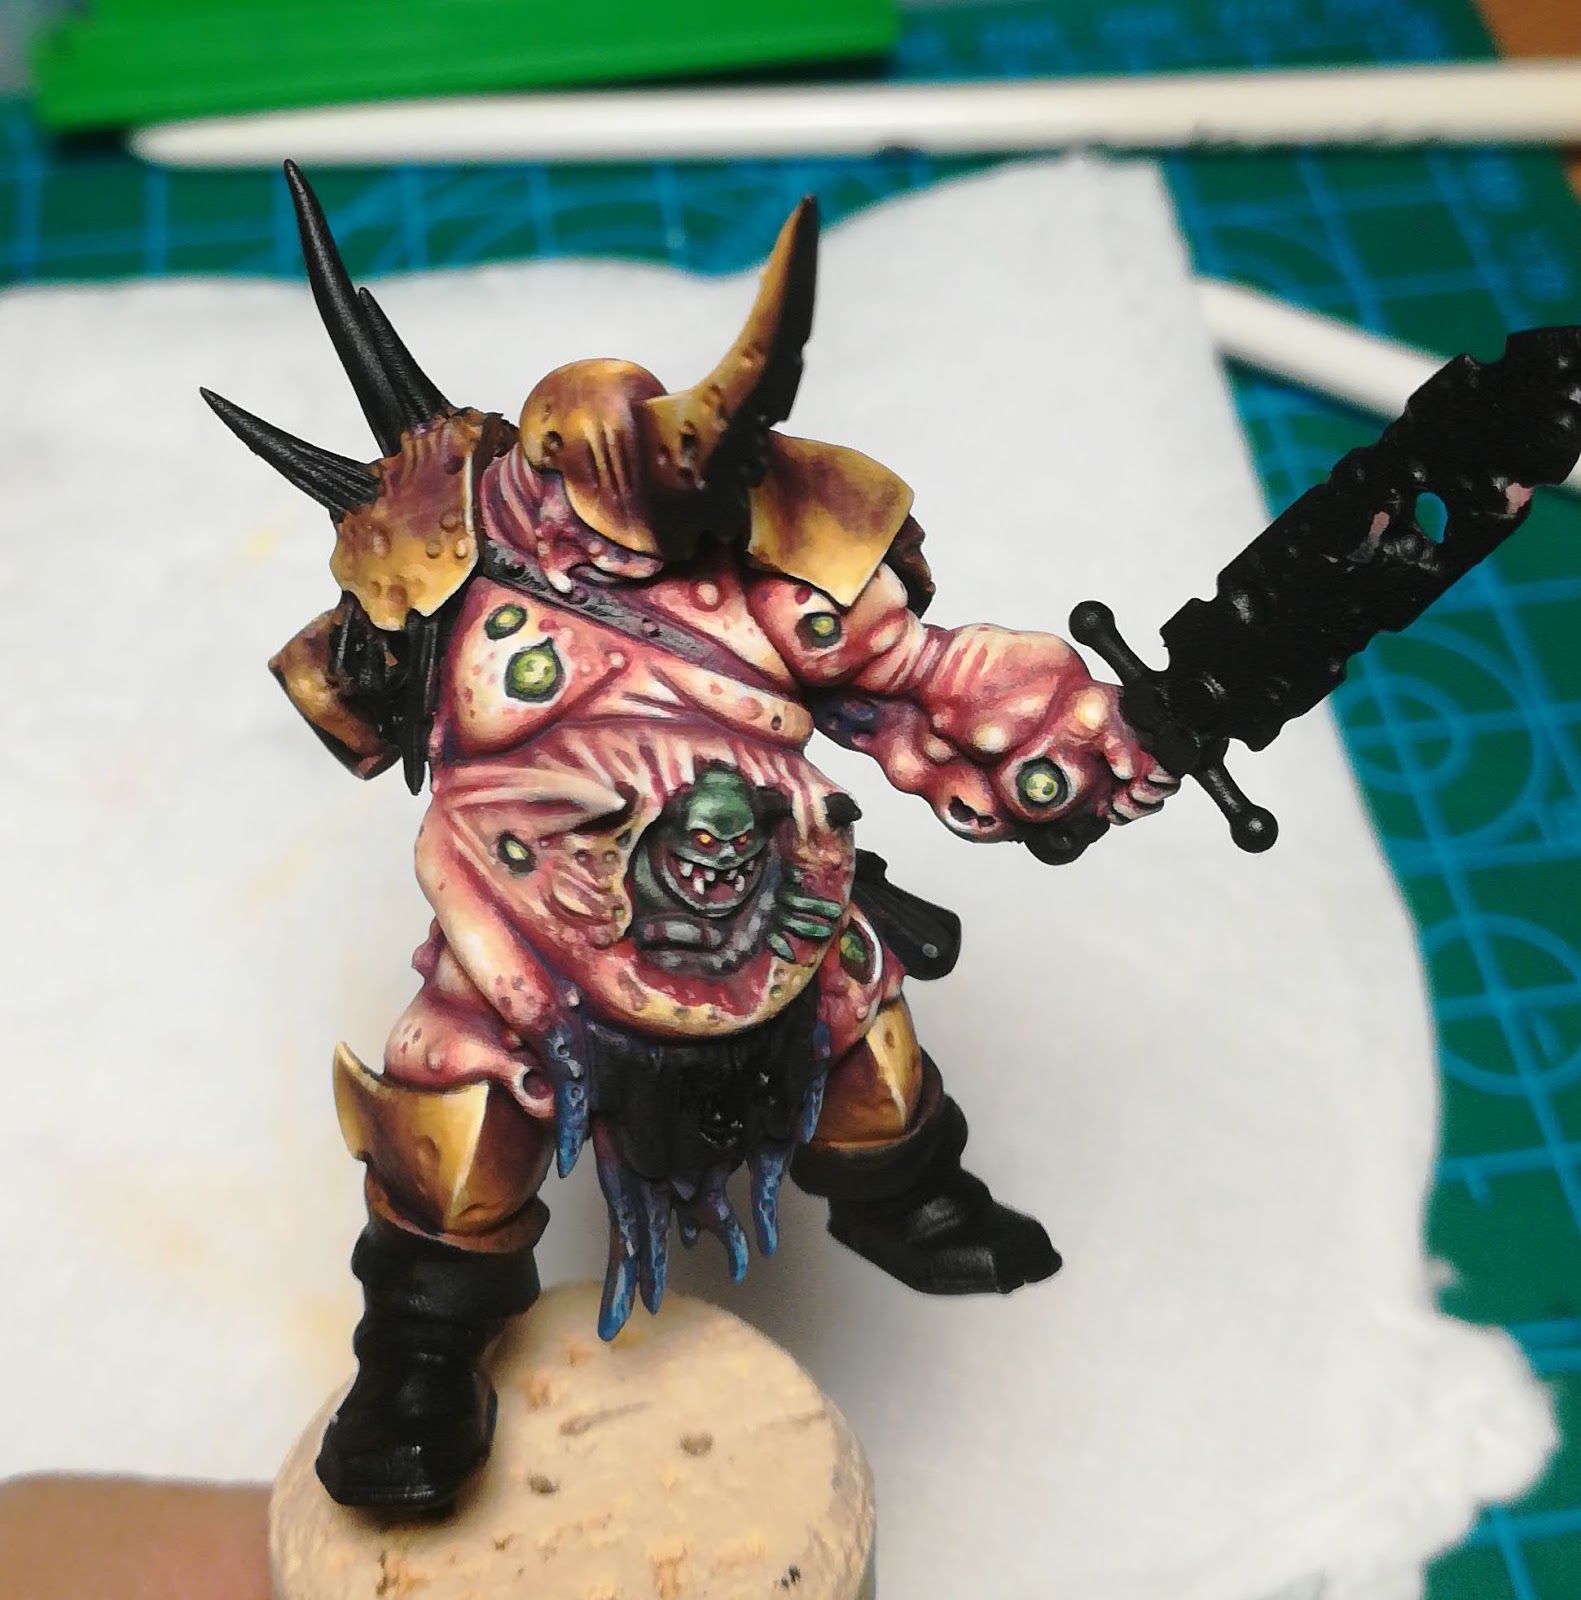
This photo is already in an advanced state but, basically:
- mix 1:1 of flat yellow and orange brown for the base coat of the armour. The start creating the shadows adding orange brown glazing.
- Then start building the highlights with flat yellow. Start choosing the highlights position based on the surface shapes. The Helm and the Knee Pad are good example. Recall also about bouncing lights from the lower surfaces. Said that, it is possible that mine are wrong. So the shadows here are darker than the pure orange brown color, this is because I started adding some violet ink. I use it because it is the darkest violet I have and because the ink are super pigmented and it really needs a little bit for having a good result. It could look like shiny, though.


Step 2
- More shadows mixing orange brown violet ink and black. Now start applying them covering a smaller surface and going towards the deepest recesses. Opposite direction and colours for the highlights using flat yellow and ivory.
- If it happens that the transition is not well blended you can go back and use the previous colours for fixing the errors. You can also use different layer of glazing for creating a mixed surface colours effect.

Step 3
- Continue pushing the highlights and shadows as per step 2. Concentrate the the highlights on the most external surfaces where the lights hit the surface, like edges, armour holes edges, bolts etc etc. The shadows should really be stronger in the lower part of the model or in the recesses.
- At this point you can start adding also some armour chipping and scratches. Use a lighter tone on top of the base colour, so for example flat yellow on the orange brown darker area, or a mix of flat yellow and ivory on the yellow surface.
- Don't go with extreme contrast, it is like we are preparing the older layer of weathered/damaged armour.


Step 4
- Again push the most extreme highlights and clean up around. Now we add a new layer of scratches and chipping. Use a mix of black and orange brown, and start creating the scratches as you prefer. If it comes out it is too big or long, you can fix it later breaking it in smaller pieces.
- Then add under the black scratches add a smaller line with flat yellow or flat yellow mixed with ivory. It depends on the scratches position, if it is based on a yellow surface or orange brown surface.
- I usually add them on those bigger plate surfaces, as you can see on the model left hand side shoulder pad. With Papa Nurgle is not necessary to exaggerate because their armour are already.... Nurgle enough :)


Step 5
- Fix the problems around, if the chipping is too bright you can add a glazing of shadow. Don't add too much scratches otherwise it will looks like a big mess only.
- Push the latest highlights and shadows now that you have a good overview of the armour.


Comments
Post a Comment